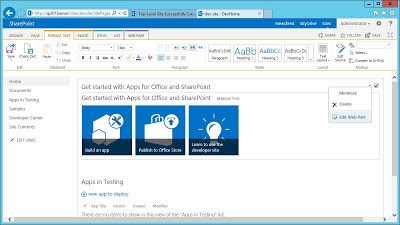
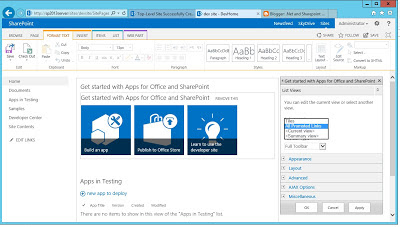
currently they are three items in the list.
I will demonstrate on how to add more items to this list.
First click on the Page tab to get the page edit tool bar enable, then click on the Edit button to make the page in edit mode
then click on the Edit Web Part in the drop down menu to load the Web Part Property section.

Select the All Promotions Link from the dropdown list under Select View Field, then click on
the Apply Button to show the item list.

Now we can click on the edit link to make the list editable.
Then we need to fill the all the columns with require data. I strongly recommend to
use those pop under windows to fill the information. Otherwise you will receive an error
message when you try to set the summary view in the web part property window.
then click on the stop link to save the new item that I just added to the list.
here is the result after I fill up all the columns for my demo item.
Now we can follow step 1-3 to launch the web part property window, and select Titles view from dropdown list under Select View and click on the Apply Button
done you will see the Newly create item on the right hand side of the quick access panel.


